For a free, no obligation quote call 0800 085 4299
Want to know more about how to maintain and look after your new Graveltech surfacing? Click the relevant button below to read more…
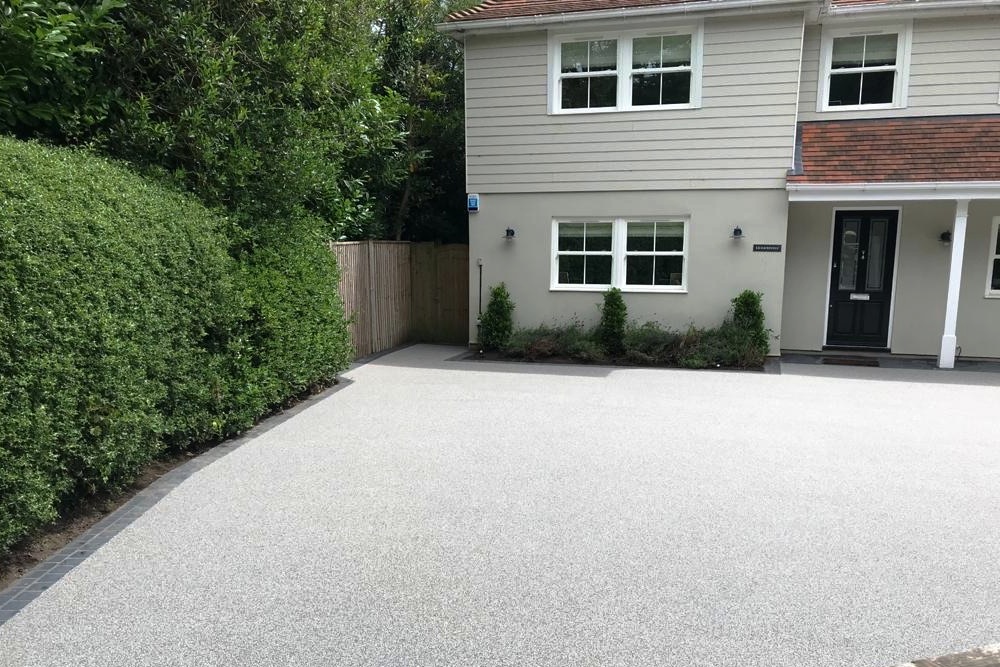
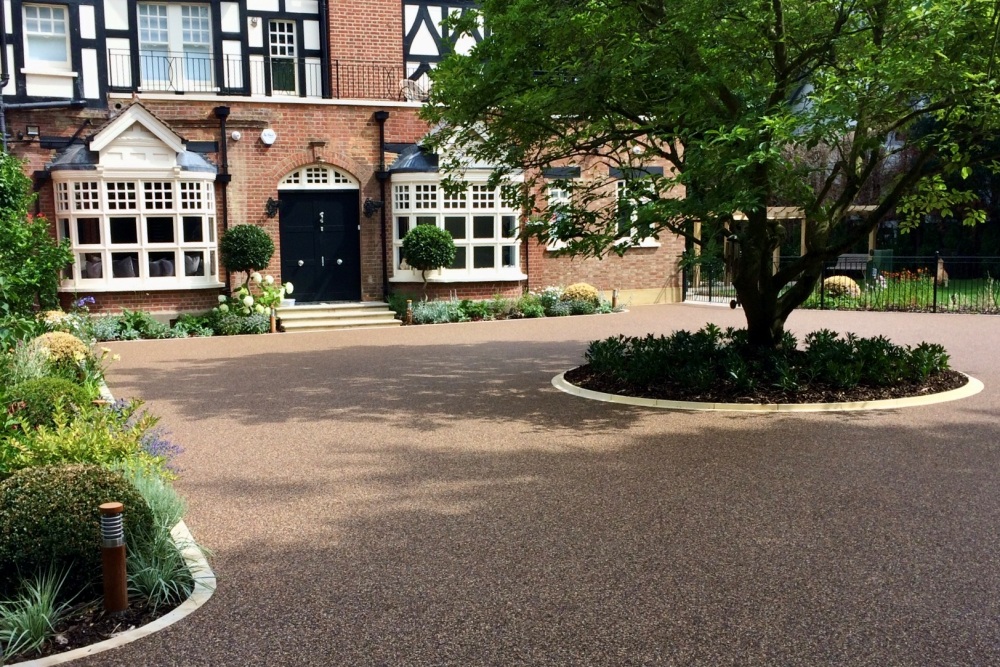
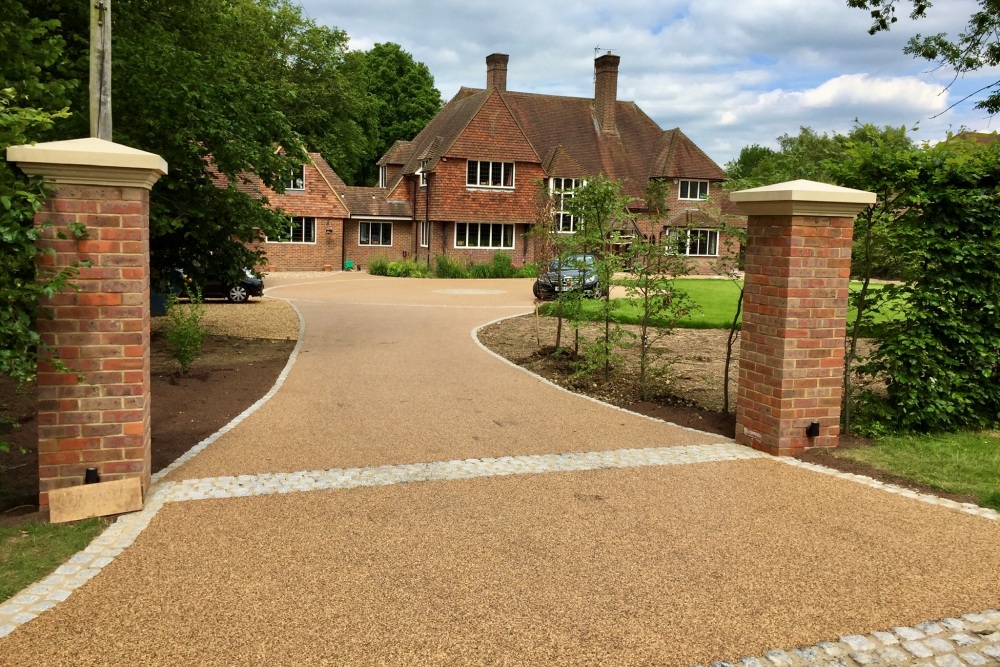
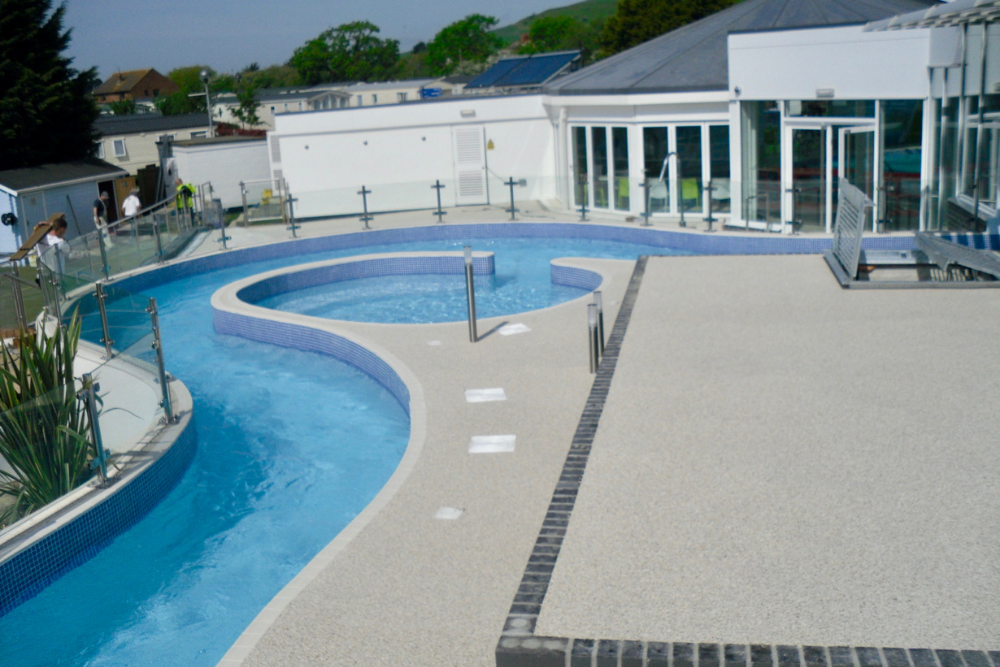
Resin
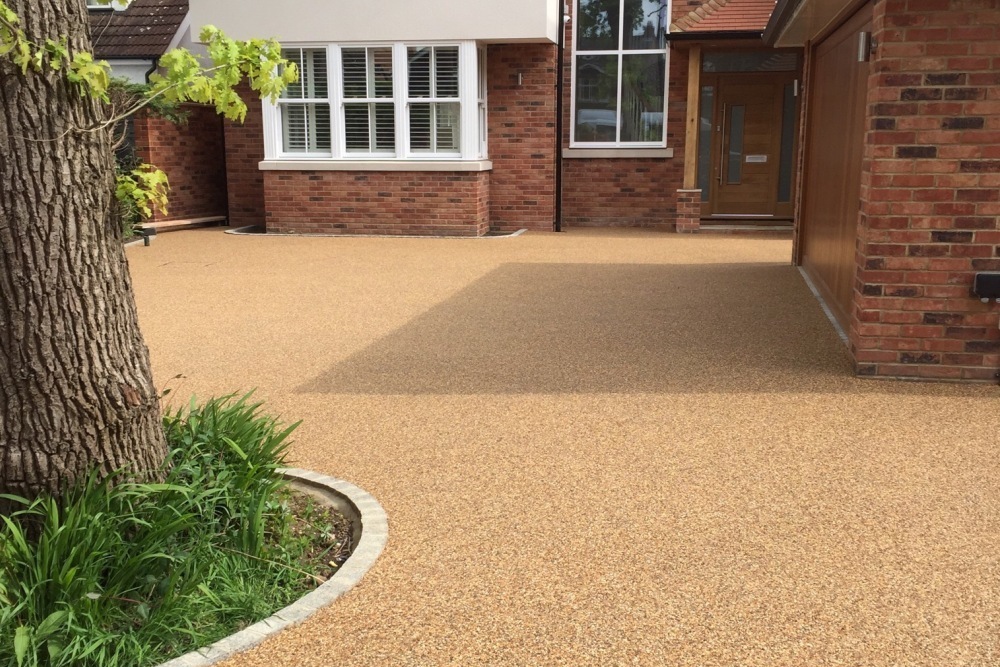
The following advice has been prepared to allow you to protect and preserve your resin surface for as long as possible.
Every effort has been made to ensure your Graveltech surface is of the highest quality. However, as with any wearing surface the more care that is taken with it, the longer it will last looking its best. While the surface is very hard wearing and durable and has been installed to the highest standards any damage caused to the surface should be dealt with as soon as possible.
Regular Cleaning – as with any surfacing material, resin should be cleaned regularly and as frequently as necessary to maintain its appearance. Cleaning will also aid identification of any areas that require repair. Sweep with a broom to remove leaves, paper, etc. Use water as necessary to wash the surface.
Removing Moss, Algae and Weeds – remove any moss or algae on the surface with a proprietary moss removal solution. Resin surface clearner or diluted household bleach can be used to kill moss within the surface. If using bleach take care to avoid prolonged contact with aggregates such as limestone to avoid discolouring. Wash thoroughly with plenty of clean water afterwards, and abide by local regulations with regard to use of chemicals. Seeds can often embed themselves in the resin surface causing weeds to root and take hold. These are surface growing and are not growing up from beneath the resin bound surface. Using a weed killer will remove the problem; it should be repeated throughout the spring and summer months to prevent weed build-up.
Chewing Gum Removal – chewing gum can be removed by scraping or chipping or using proprietary local “spot” removal solutions, or by larger scale commercial cleaning. Take care not to dislodge aggregate.
Power Washing – if power washing the surface, the maximum pressure should not exceed 125 bar, use cold water only, a fan type jet, maintain at least 300mm between the lance and the surface and spray at such an angle to avoid dislodging the aggregate. Care should be taken however to prevent damage to the surface with excessive water pressure. Excessive cleaning may also lead to fade or damage.
Removing Cement Stains – if the surface is contaminated with any cement or concrete marks these can be removed using dilute hydrochloric acid (follow health and safety guidance), or a proprietary cement remover. In all cases we recommend that a small area is carried out first to ensure no surface damage or discolouration will occur. Oil stains should be removed as soon as possible using a mild detergent as required to prevent possible staining. Always rinse the surface well with clean water after application of any contamination, specialised cleaning products or chemicals.
Using the Surface – resin surfacing is designed to be used by foot/pedestrian traffic and by light domestic vehicle traffic. Protect the surface from high impact loading, for example scaffolding, skips, pneumatic supports on skip lorries, and avoid dragging heavy loads across the surface. Protect the surface from liquids and other materials which may stain, soften or damage the surface, such as engine fluids, petrol, oil, diesel, paints, chewing gum, cement etc. Please note that light coloured blends may show tyre marks, removal by pressure washing as outlined may be required.
Ice or Snow – as the weather becomes colder it is important to know how to look after your resin surfacing in icy or snowy conditions. It is absolutely safe to apply salt to prevent ice build-up and also to dissolve unexpected ice or frost. It is recommended, however, that once temperatures rise above freezing, the surface is thoroughly washed to remove any traces of salt. It is also safe to use a plastic snow shovel to remove snow; if the aggregate is bound, the stones should not become dislodged. However, it is not recommended to use heavy duty snow clearing equipment such as a snow plough as this may cause damage to the Resin Bound Surface. As the melting snow disperses through the porous structure there is little potential for puddles or ice patches to form which is a great safety benefit of resin surfacing.
Localised Repairs – resin surfacing can be repaired using the same combination of resin and aggregate as used during installation. Repairs should be carried out as soon as possible and within the correct weather conditions, to avoid further damage and degradation. Please contact Graveltech on 0800 085 4299 if you need any assistance.
Porcelain
The following has been prepared to allow you to protect and preserve your Porcelain paving for as long as possible.
Porcelain has a stain resistant and low porous surface with a low water absorption. Whilst staining is rare, it is advised to use a product suitable for porcelain such as Lithofin Intensive Cleaner; an alkaline solution for day-to-day care. Always follow the manufacturer’s guidelines for best results. Always use a pH neutral cleaner, never use an acid based cleaner. Always wash away any residual cleaning product and rinse well with water.
A stiff brush can be used to sweep away general garden debris such as leaves and twigs as part of your general garden maintenance. Doing this whilst the debris and surface is dry will avoid spreading dirt into the grout.
Porcelain paving can be pressure washed annually for a deeper clean and to help remove any dirt or algae build-up which may occur over the years. Any spillages can be spot cleaned with warm, soapy water or a suitable alkaline product for contaminates such as algae, leaf stains or bird excrement.
Natural Stone
Green Staining – Caused by shaded areas on the paving which cannot dry; poorly drained areas where water can sit; damp areas where moss and algae can thrive; extract from fallen leaves which have been left in place; staining is usually green in colour but can appear as yellow and/or black. Regularly sweep your paved area to avoid any growths from taking hold. Only use soft bristled brushes on natural stone, as wire brushes will scratch the surface. Regularly maintain overhanging shrubbery to allow sunlight and air onto the paved area. Once staining has occurred, there are specialist and general cleaners on the market which can tackle this type of problem e.g. Lithofin Outdoor Cleaner or Lithofin Algex, other products are also available.
Efflorescence – Typically a naturally occurring phenomenon where salt from the bedding materials migrates up through the stone and appears on the surface. This will leave white marks on the surface of your stone. Typically occurring shortly after laying, this cannot be prevented as this is a natural occurrence. There are efflorescence cleaners that may work, however, the best advice is to allow the salts to dissipate with natural weathering and the passage of time. Lithofin Builders Clean could be tried, other products are also available.
Brown Staining – Caused by Iron Pyrites which are rust spots coming from within the natural stone. As this is a naturally occurring phenomenon, it cannot be prevented but there are specialist and general cleaners on the market which can tackle this type of problem e.g. Lithofin Bero or Lithofin Rust-Ex, other products are also available.
Fertiliser Staining – Moss killers and fertilisers contain Ferrous Sulphate which can leave iron traces on paving after over-spread from lawns; look for staining along edge of lawns or garden borders. This can be treated with a specialist or general cleaner e.g Lithofin Bero or Lithofin Rust-Ex, other products are also available.
Leaf Staining – Fallen leaves can stain the face of paving slabs. This is caused by resin leaching out of the leaf as it degrades. Sweep leaves off patio area regularly. The residue from the leaves are only surface stains and can be removed by cleaning. There are specialist and general cleaners on the market which can tackle this type of problem e.g. Lithofin Outdoor Cleaner, other products are also available.
White Circular Spots (Slate) – Caused by calcite mineral deposits on the surface of the slate. Calcite makes up part of the natural formation of slate and can appear as white ‘flaking/blooming’ when exposed to oxygen and water. The cleaning method involves aggressive cleaning or scrubbing with a product such as Lithofin Builders Clean, other products are also available.
General Cleaning – Regular maintenance and cleaning of your new natural stone area is recommended to keep the area looking its best. There are various cleaners available on the market. It is recommended that you brush your paved area regularly as well as cleaning it from time to time. Ensure you use a soft bristled brush when sweeping your paved area, as tougher wire brushes could scratch the stone. Brushing the stone will provide the safest option for keeping the stone clean, using water with a neutral pH soap or detergent should be sufficient for routine maintenance. Power washers may be too powerful and cause damage to the surface of the stone and the mortar joints. If used do so with great care and at your own risk. Strongly acidic or alkaline cleaners may also cause severe damage to the stone and create other environmental problems. Always check the instructions on the product before using it to clean your natural stone. Before using any cleaning products on your natural stone test a small, discreet area of paving to make sure you are happy with the result.
Sealing – There are many sealers available on the market that offer different finishes. Natural stone does not have to be sealed and so sealing is a personal choice. Some sealers are designed to affect the appearance of the stone, such as leaving a satin or invisible finish. Sealing can help delay the absorption of liquids. An important factor to consider if deciding to seal your stone is whether or not the sealer is breathable because if it is not then mobile salts can be trapped beneath the surface. An example of a potential problem caused by the use of the wrong sealer would be where efflorescence develops as the sealer prevents salts from exiting through the sealed surface. The build-up of the salts can cause disruption and breakdown of the stone surface. With unbreathable sealants, merchants will normally recommend that you wait three months before sealing your recently paved area, to allow for efflorescence to appear; this can then be washed off before sealing. If using a breathable sealant, the paved area can usually be sealed straight after installation, but at your own risk.
Loose Gravel
Gravel driveways do require some maintenance. One of the most effective tools is a standard garden rake. Due to heavy periods of rain and wind, leaves, grass, sticks and other debris can be blown onto the gravel and become lodged between the stones. When left unattended, this can make the driveway unsightly, more difficult to walk and drive on and more challenging to address any future issues. Establishing a regular raking regime will help get rid of debris and ensure the gravel remains level.
One of the challenges can be a heavy downpour where there may be flooding or pooling in the low points of the gravel drive. Ensure the drive is raked so that the entire driveway has enough gravel, this will prevent water from running off the lawn and spilling onto the drive.
Finally, check the edges of your driveway for soil clumping. Over time, soil can build up along the edges of a gravel driveway and create a dam where water can pool and cause damage. Simply clearing these areas out will do wonders. Weeds can be kept minimal by regular spraying with weed killer and weeding.
It is not uncommon for gravel to become displaced after being subject to regular traffic. In order to keep the driveway looking good, rake the drive regularly and ensure proper depth levels are maintained. Over time, it can be topped up with a thin layer of gravel to the surface.
Driving on your gravel drive in the winter months can offer a lot of traction, so even with a thin layer of snow (1-2″), most homeowners are able to manage to safely drive across the surface. This also means that it is possible to leave 1″ of snow and not displace the gravel underneath.
Block Paving
Block paving is a durable and long-lasting option if well maintained.
Over time algae, oil stains or moss can build up causing the blocks to look dirty. Block paving can be easily cleaned and sealed with an off-the-shelf sealant to the surface to prevent further staining of the brickwork and to keep the bricks looking fresh. Cleaning block paving on a regular basis will help keep dirt at bay and remove stains. A range of slip resistant products can also be applied to help protect the surface from wet and icy conditions.
As block paving ages the sand between the bricks may wear away. Pressure washers are one of the common causes of this. Natural elements will also cause gradual degradation of the sand. Reinstating kiln dried sand with a soft bristle brush between the joins will remedy the problem. Weed and moss growth should be removed on a regular basis to prevent gaps occurring and to keep the block paving neat and tidy. Once weeds have been removed, a fungicidal wash can be used to help prevent grow back.
Turf
Laying New Turf – the ground will have been prepared prior to turf installation. The existing soil will have been turned over to a depth of at least 15cm, clearing stones, weeds and other debris. New top soil to a depth of 15cm will be applied where necessary. The ground will then be raked over so it is smooth and level and lightly rolled to ensure an even surface. The new turf will be unrolled, staggered in a brickwork pattern and trimmed to size and shape.
Maintaining New Turf – continue to water the new turf at least twice a day in warm weather (preferably morning and evening) until it is well established and it is clear that the roots have bedded in. During colder periods, watering once a day should suffice. Ensure the edges are especially well watered. Once the lawn has been established, it will need to be watered throughout the Spring and Sumer months.
Mow the lawn as soon as it grows over about 25cm (one inch) long. Place the blades on the highest setting and gradually reduce this down to the optimum height 15-25mm. Never mow more than 25% off the length of the grass at any time. If you have to walk on the new turf, please take care and use planks if available. Wait a few weeks prior to using it in more energetic activities. If the turf dislodges, carefully put it back in place. It is not necessary to remove clippings unless they cover the grass and prevent sunlight reaching the lawn. Grass cuttings are rich in nutrients and good for the turf.
When the lawn starts to grow in March, put on the first application of nitrogen-based fertiliser. It is important to spread the fertiliser uniformly to maintain an even colour of grass. Using a spreader is the best way to ensure even coverage. During mid to late September a Winter feed fertiliser can be applied.
In addition to the above it may be necessary to scarify the lawn to remove thatch and dead moss, this is best done in the Autumn to ensue air can penetrate the lawn. Any patchy or discoloured areas can be treated with additional seed together with top dressing to maintain lawn levels. Ensure the lawn is aerated prior to seeding to relieve compaction.
Where a new lawn has been laid, deep rooted bulbs may grow up and penetrate the lawn. It is not always possible to prevent this when laying turf as bulbs may be deeper underground than the recommended depth of surface preparation. Should bulbs or weeds grow up through the lawn, mow the lawn as soon as possible and use a weed killer to prevent further growth.
Artificial Turf
Remove all debris regularly, don’t allow leaves and other debris to build up as it will become harder to remove with time. Use a soft to medium bristle brush once a month and brush the turf in different directions before finally brushing against the pile. This will leave the turf maintained in a vertical position; it is important to maintain the vertical position to avoid compaction over time.
Make sure you clean up after pets, removing solid mess wherever it may be and washing down the area with luke warm lightly soaped water. Do not use high strength cleaning liquids such as bleach. Remove moss and any weeds that take root early. Remove the bulk by hand and apply a water based moss and weed killer. Speak to your local garden centre for their recommended products.
Do not have open bonfires, light fireworks or place candles on or near to the artificial turf. Avoid charcoal BBQ’s directly on top or near to the artificial turf. Do not discard of any smoking materials onto the artificial turf. Be careful to remove any broken glass or sharp objects which may bury themselves into the artificial turf. Avoid parking or storing heavy objects on to the artificial turf for any sustained period as this may cause compaction. Be careful with chewing gum or adhesives which may get stuck in the artificial turf and may need to be cut out.
Soft Pour
Regularly inspect the surface and remove debris which may damage the rubber e.g. stones and other sharp objects. Surfaces may be swept with a soft brush, or a blower may be used.
A power washer may be used at low pressure (water temperature 40-450C) with the jet set to fan and the nozzle held at an angle no greater than 450. Should detergent washing be required, a ph neutral cleaner should be used (diluted in accordance with manufacturer’s instructions) and flushed away, or lifted with a wet vacuum cleaner.
The surface should be washed at least every 6 months to remove abrasive deposits.
De-icing chemicals, salts/ grits should not be used; scrapers may damage the surfacing.
Wet Pour
Routine weekly maintenance will help keep the surface clean and provide optimum surface performance. Sweeping away leaves and other impervious debris from the surface will help maintain proper drainage. Hot (not boiling) soapy water can be used to wash off any moss, algae or stains. Oil stains can be removed using methylated spirits and chewing gum can be removed by using a freezing aerosol. Ensure only appropriate footwear is used on the surface, studded or spiked boots and high-heeled footwear should be avoided. Inspect the surface regularly and carry out any remedial repairs as soon as possible to prevent long term damage. Windblown seeds may impregnate the surface and take growth. Any weed growth should be removed by hand as soon as possible and weeds can also be treated by a water based weedkiller. Oil based weedkiller must be avoided.
Snow and ice will not damage the surface and once melted will drain through as normal. Snow can be removed by using brushes or rubber scrapers. Metal scrapers will damage the surface and should not be used. Chemical de-icing agents will also damage the surface and must be avoided. When the surface is icy any subsequent rain may cause a bit of flooding but this will drain away normally once the ice has melted.
Decking
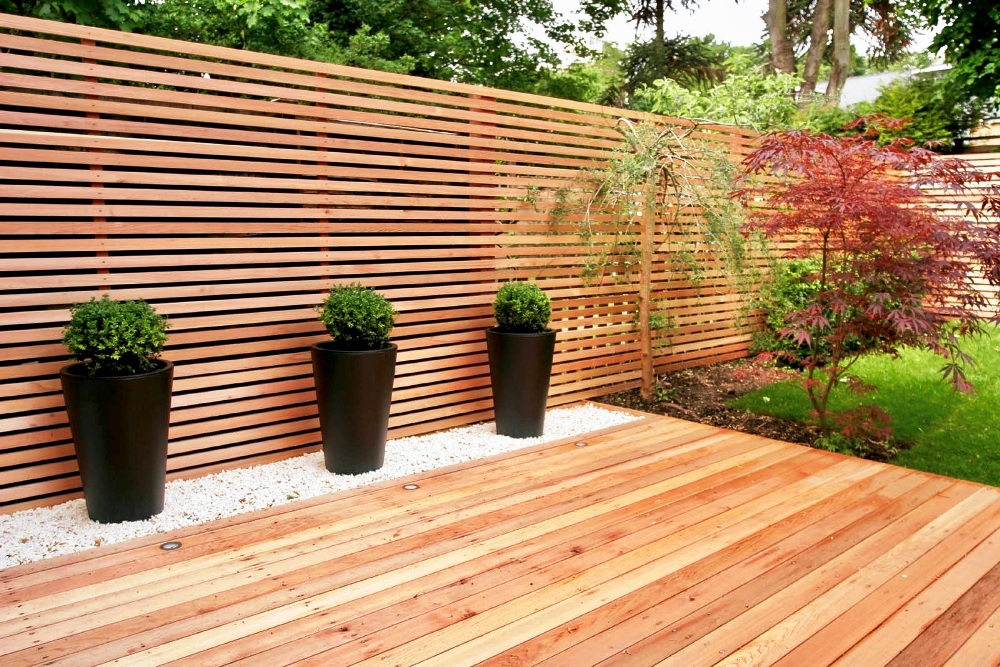
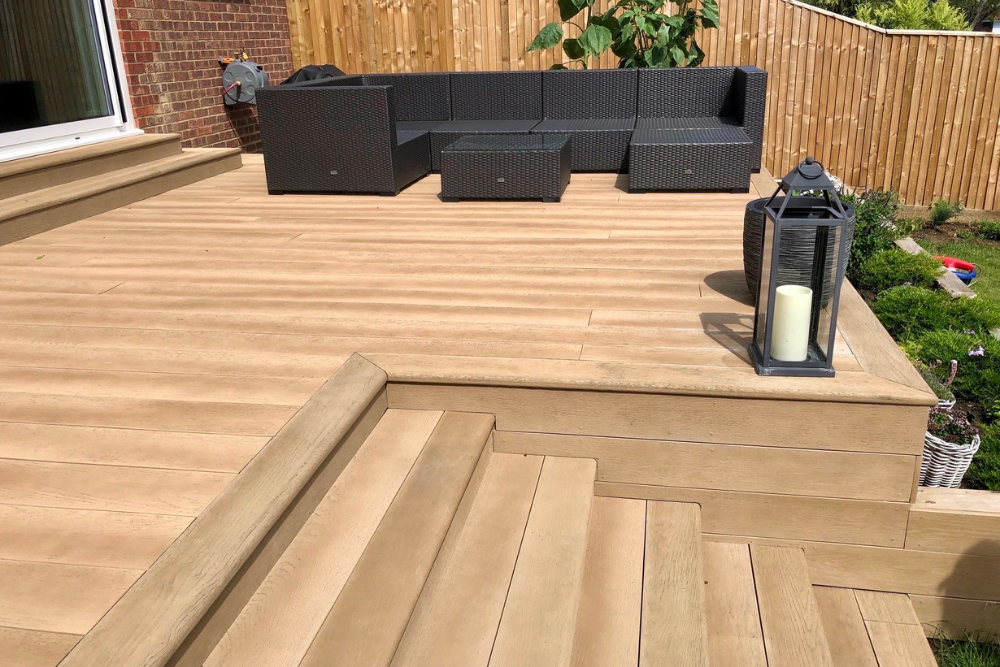
Clean – even treated softwood/hardwood decking will not look like new after a long winter and a wet spring, it is therefore advisable to spend some time cleaning the decking which will pay dividends during the summer months. We would recommend that you sweep your decking regularly and hose it down when dirt accumulates. Allowing dirt and other organic matter such as leaf or soil to accumulate on your decking will increase the risk of both mould and fungal infection. The organic matter may not only carry the source of fungal infection but may hinder drainage and provide the damp conditions that they need to survive. Failing to remove build up can also create a slip hazard. Cleaning your decking with a suitable decking cleaning agent and pressure washing at the beginning and end of the season is recommended. Your local garden centre or DIY store should be able to recommend an appropriate cleaning agent for your type of decking.
Re-seal and Protect – treated softwood/hardwood decking should be kept clean and to keep it looking at its best, resealed with a suitable wood protection finish for exterior woods and oiled with a suitable wood protection finish for exterior woods. It is not recommended to varnish the softwood/hardwood decking. For best results re-apply a water repellent when the decking is dry after cleaning. Your local garden centre or DIY store should be able to recommend an appropriate sealing agent for your type of decking.
Ice or Snow – as the weather becomes colder it is important to know how to look after your decking in icy or snowy conditions. Using a high quality waterproof sealant on your decking will adequately prepare it for snow. If your decking is structurally sound, it should be able to handle a lot of weight, so you don’t need to worry unless you get over three feet of snow. One can slip on any amount of snow and ice, so part of inspecting the structural integrity of your decking should involve making sure railings are stable and that you’ll be able to hold onto them if you need to use your decking. If your decking is too dangerous to walk on after a bout of snow or ice, you may want to keep off it entirely.
As long as you inspect your decking for damage and waterproof it before the worst weather comes, your decking should stay in good condition but you should still remove the ice and snow. Snow can be a safety risk if there is significant foot traffic on your decking. Removal of snow will vary depending on the decking material you have. Avoid using a metal shovel which might scratch the decking. Use of a plastic or rubber blade shovel is recommended. Try to shovel parallel to your decking boards so that the shovel does not catch the edge of a board and damage the surface. Use a broom for a lighter snow fall; if the snow is fluffy and less than four inches deep, it’s easy to brush away with a broom rather than risking scratching your decking with a shovel. Use the correct ice melt products for your type of decking; salt and calcium chloride are considered safe for composite decking, but with wood, you have to be careful when choosing an ice removal product. Double-check what products are safe for your material. Don’t use any product with a colorant added as this may stain your decking. If you do use salt on a wood decking, make sure you rinse it off once the snow has gone as salt can cause the hardware on your decking to erode. Do not put sand on a wood decking, as it is abrasive and can scratch the wood. Remove icicles that hang over your decking as they are sharp and if they fall could cause injury or damage the decking.


